There are various types of make-up blender that we find in the market these days. Yet not all are meant to be used for a single purpose. Like you have your make up brushes blenders have their own importance and usage. So today we have brought some of the unusual shapes of the beauty blender and we will discuss with you what their usage is. You can find these online as well as on many make-up stores. They came in single packing in the makeup store but if you visit online you might find two or more of them in a single packaging. So let’s begin with our blender search.

Foundation Sponge


This is a regular sponge that has a teardrop structure. It has a tip and the round end. This blender is usable for spreading the foundation evenly to every area of the face. The quality of this product varies from brand to brand. The sponge has three types one is dense, medium, and light. The difference between them is the density of the sponge. How much material can it hold on it? The pores on it play a crucial; role in the spreading of the product. Se we don’t want to take much foundation on the sponge, it is always suggested that you go for medium pore. Thus find the perfect teardrop blender to blend in your foundation. It works best with liquid foundation.

Pear Sponge


It has a somewhat similar function as the teardrop sponge. This can be used to spread liquid foundations as well as BB and CC creams. They give an even texture on the face. If you apply cream mixing with the foundation this will give you an even blend all-around face and neck. Moreover, it gives a better hold as it has a little inverted in the center, it is pointed from one side and round from the other end. The pointed one helps in applying the foundation to the small region such as on the side of the nose and ears. This also gives a nice blend on the jawline.

Olive/Eyes sponge


These two sponges are used for the same purpose, you can apply concealer with the help of these and give a nice blend. Let’s talk about each one by one. The eye sponge has two pointed ends and is thick from the center. So if you two sides to work with one for each eye. You can hold it from the center it will do the blending in the triangular motion. Now the spade is more popular as it has pointed ends by it is little asymmetrical. One end is bigger than the other. So if while applying eye shadow you have got some glitters on the lower eyelid you can use the small section to correct the error and use the bigger one to apply concealer in the first place.

Sculptor Sponge


Sculptor sponges are the one which has triangular cutting on one end to the sponge. The purpose of these sponges is to apply a heavy foundation most amazingly. So you are light skin tone and what to give your face a light beige tone to have a little warm make-up feeling this foundation sponge will help you get the best results. Other than that you can use these sponges to dap powder on your skin the round angle on one side and the slanting part will help you spread the powder evenly to the thinner portion of the face. Some even use this to highlight or bronze their cheekbone and blend into the headline. There are many sculptor sponges but not all are function the triangle one can work well.

Blotting Sponge


Sometimes we try to do more natural makeup. Therefore you need this sponge. So far there are rare chemical-free liquid foundations which are developed without oil in them, so an oily skin person cannot use these foundations you need the blotting sponge to apply an even tone of this foundation on your skin. They will work without spreading much oil on your face. You can use blotting sheets as well but the sponge gives a better result.

There was a time before this lockdown when we used to put on the best makeup and wear the most sophisticated shirt to look our professional best before attending a meeting. And it seems like it is going to take a lot more time for things to go back to normal. In the meantime, online platforms have been proving to be a lifesaver by providing us a means where we can hold such meetings virtually sitting in our living room. While we understand that this whole lockdown thing may have gotten the best out of our laziness but this simply doesn’t mean that you will compromise the way you look. While there’s no need to go extra and do a full face makeup, but the least you can do to make yourself look more presentable and professional is by following a few makeup tips that will ensure to make you look your best with zero to minimal efforts involved.

Don’t go overboard, stick with basics


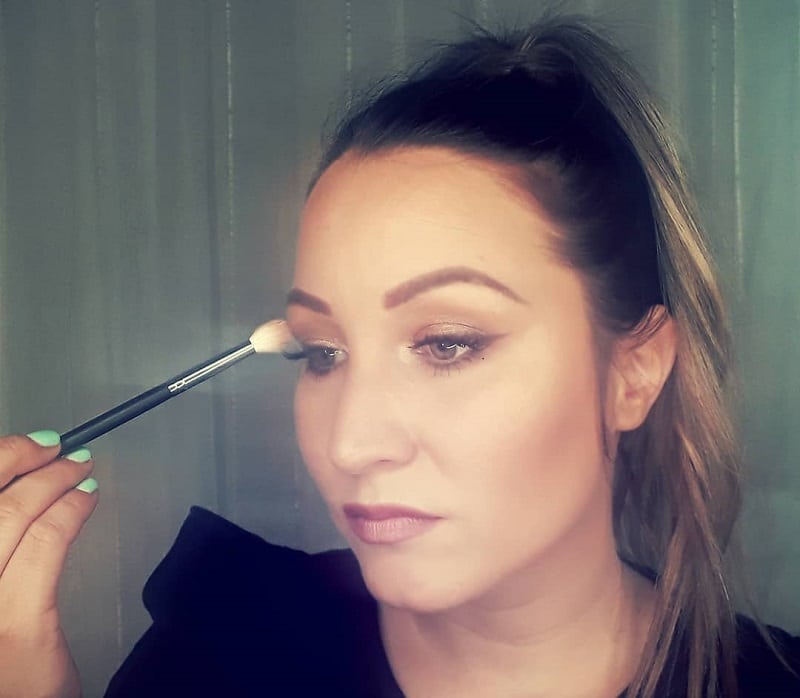
While we understand that you have plenty of time before the meeting begins but that doesn’t mean you will put on a glittery eyeshadow or color your cheeks with extra blush. As tempted as you may feel to do full face makeup, it would be great if you completely skip that part, save yourself from that hassle and just stick with the basics. Something as little as a coat of mascara, filled-in brows, neutral-colored lips, and a little bit of highlighter will do the job perfectly and make you look like a fresh daisy in no time.

Keep the base light


Like we said, there is no use of going overboard with your makeup; it will be a complete waste of time as at the end of the day, you will have to stay at your place eventually with nowhere else to go. Save yourself from that trouble and keep your base light. You can either look for a tinted moisturizer or a CC cream as it nicely conceals the problematic areas and also provides even-tone skin. To make your face look more flawless and brightening, you can apply a brightening concealer on your under-eye area as well as blemishes.

Opt for lighter shades


Back in the normal days, you may use to wear bright and bold shades for lipsticks, eyeshadows as well as kohl or eyeliner but now that things are not the same actually and you will be on a video call where such things can look too loud, we would suggest applying lighter shades instead of brighter ones. Instead of applying your typical black eyeliner, apply a brown or grey shade as it will provide a much softer look. Similarly, switch your lipstick and eyeshadow with lighter shades.

Use tinted lip balms


Lipstick is the most important part of a complete makeup look, just one swap on the lips and it can completely transform the way you look. As much as you would like to wear your favorite matte lipstick, it can appear too dry on camera. Similarly, lip gloss can make your lips look shiny and also, applying dark lipsticks is not a good idea, no matter how tempted you are. Instead of opting for your lipstick, apply a tinted lip balm that won’t only add color to your lips but will also keep them soft and hydrated.

Face the natural light


When you click pictures or shoot videos, you always try to position yourself in a place where the natural light will hit your face in the best way possible. Great natural lighting is the key to making yourself look good on camera. Look for a spot in your house, where natural light enters in abundance. Place your laptop in front of it during the meeting and let the natural light hit your face which will instantly make you look a lot brighter and glowy.

Our problems with skin just seem to be never-ending. Sometimes it’s the acne that’s causing the issue and sometimes it’s the stubborn dark spots and pigmentation that is raising concern, either way, having the skin of your dreams which is clear of acne, dark spots, pigmentation marks just seems like an impossible dream now. If the skincare regimen or the products doesn’t seem to be working for you then you need not fret, as long as you have makeup to back you up, there are no skin woes that can come in your way from achieving the desired look.
Pigmentation marks and dark spots are one of the most common skin woes that many women deal with and there’s nothing to be ashamed of but concealing them is also not a bad idea. No matter how stubborn those dark spots and pigmentation marks are, with the help of makeup, you can easily cover each one of them effectively.
We have formed a guide for you that will help you in concealing your dark spots and pigmentation marks the right way.

Know your undertone


First things first, knowing your undertone is one of the most important aspects of this whole process. You cannot continue with it unless you know what your undertone is. You should always purchase makeup products according to your undertone and the best way to identify it is by checking the color of your veins. If the veins appear blue to you then you have a cool undertone and if they seem green to you then you have warm undertone and in some cases you can also see the mix of two colors which indicates neutral undertone. Picking foundation and concealer that matches your natural undertone always work the best.

Use primer with blurring effect


Primer is one of the most important products to apply whenever you are trying to do makeup. You certainly cannot skip this step as it not only helps you in providing a soft and smooth canvas to work on but it also helps in creating a blurring effect which can help you in concealing your dark spots and pigmentation marks effectively. Primer comes in a huge variety and you will have to make sure that you buy the one that produces a blurring effect. It will help you in blurring out the imperfections whilst also providing a matte finish to the face.

Use an orange color corrector


Color corrector is designed for a reason and you should put it to use when needed. This product comes in different shades that are meant for different skin woes, but for concealing dark spots and pigmentation, you will require an orange color corrector. It can help you to hide all the dark spots, pigmentation, and even your dark circles. Just make sure that you are buying it according to your skin tone, such as peachy tone will work best for fair skin whereas, a redder-orange tone will work best for dusky skin.

Layer your foundation before setting it up with powder


Layering is no longer limited to your mascara only; your foundation can also be used in a similar way especially when you are trying to conceal the problematic areas on your face properly. Layering your foundations allows you to cover all the dark spots and pigmentation make quite seamlessly. And before you set it up with powder; make sure that the foundation has settled onto your skin nicely.

Apply loose powder before putting on the concealer

Firstly, you should know that concealer always goes after foundation and if you have been doing this the other way around then it’s time that you change your makeup technique and follow the right method. Coming to the point now, before you put on the concealer on the problematic areas, make sure to dab some amount of loose powder on the spots and then apply the concealer to achieve a more seamless finish.

If you’re sitting by a window indoors or spend most of your time indoors and you think you can skimp on SPF you’re definitely mistaken. Sunscreen is the most important step of your skincare regime and if by any means you tend to skip it you are making all your skincare products trash. It’s really important to wear sunscreen when you step out of the house but it’s even more important to slather on an effective sunscreen when you’re indoors.

It’s the most common misconception that you don’t need to wear sunscreen when indoors but if you’re working indoors you still need a full dollop of sunscreen to be applied. The windows can block UVB rays from entering inside but what about the more dangerous UVA rays which penetrate the deeper layers of your skin making it prone to the signs of aging such as dark spots, wrinkles, fine lines, and hyperpigmentation. So, sunscreen is definitely useful even when you’re inside.

The feed will explain to you why you still need sunscreen indoors. So, you’re clearly informed about why you’ve to use it.

The Spectrum of Light-

The spectrum of light is not confined to beach sunburn, it includes all many different forms of lights that damage your skin and which you can come in contact with indoors also. Hence, it becomes very important for you to protect your skin with an effective sunscreen. The spectrum of light includes mainly four types of damaging lights:

UVB which you mainly experience when you step out of your house. These lights are associated with sunburn and tan. UVB lights even cause skin cancer. Hence, wearing sunscreen before stepping out should be a ritual.

Next comes UVA lights the lights are a more dangerous form that penetrates to the deeper layer of the skin making your skin prone to the signs of aging and these lights are not something you encounter outside your house as they can even reflect through your glass panels thus it becomes clearly advent that wearing sunscreen indoors is your smart move.

HEVL also known as Blue lights

These lights are transmitted through electronic devices such as televisions, computers, and phones. It also penetrates to the deeper layers of the skin, damaging your skin and hence you can face a fair share of problems like hyperpigmentation and melasma.

IRA or infrared radiation- This kind of light you can’t see but can surely feel the warmth and it comes from both the sun and devices such as hair dryers and other heating devices you use. This light causes serious tissue damage to your skin.

Broad Spectrum-

Whether you’re using mineral or chemical-based sunscreen but you have to make sure whatever you use should be mentioned as “broad spectrum” sun protection. The broad spectrum states that it will protect you from all the forms of light which we discussed earlier. A sunscreen that is not labeled as broad-spectrum is just trash and will not provide you the real protection. And to seek the maximum protection from an SPF go for an SPF ranging somewhere between 30 to 50 as anything less than that will not cause you significant protection. Most importantly apply sunscreen after every two hours as no matter how much highly ranged SPF you use, its effect is reduced after two hours.

The Final Takeaways-

In conclusion, no matter if you’re stepping out of the house or whether it’s sunny outside or it’s raining and you’re indoors still you have to apply sunscreen. Even if it’s raining, the harmful rays are still shining. You don’t know what world of good an SPF can do to your skin therefore never dare to skip it!

Some of you girls must be completely new to the term lipstick bleeding or feathering but believe us, this is not as new as it may sound to you. In fact, it is quite a common problem especially when summers hit your place. In case you are still wondering what lipstick bleeding is, it is something that involves the leaking of pigmentation of your lips products from the edges of your mouth. Just imagine coming back home after a long day only to see that your entire lipstick has smudged around your mouth and you look absolutely silly let alone embarrassing. This is quite common during summer but this disaster can be easily prevented from happening if you follow a few hacks.
Humidity and hot temperature can easily mess with your lipstick’s formula and make them bleed which can completely ruin your makeup look but to make sure that it doesn’t happen with you, follow these hacks that we have listed below and you’ll be good to go.

Blot and dust


One of the best ways to make sure that your lipstick doesn’t budge and stays in place all day long is by following this layering hack. After you are done applying the first layer of lipstick, blot it up with a tissue and then dust some translucent powder on the top. Gently remove the tissue and reapply the lipstick as a final coat. Blotting and dusting step will ensure that your lipstick remains sealed and doesn’t get smudged or start bleeding.

Apply a clear lip liner


Another great way to ensure that your lipstick doesn’t start to bleed is by applying a clear lip liner which is also known as a reverse lip liner or invisible lip liner. The product is applied on the outer edges of the lips which acts as a barrier and doesn’t let your lipstick bleed through. This is a kind of mistake-proof way of preventing your lipstick from bleeding as you won’t have to worry about following the twists and turns of your natural lip line.

Seal the lipstick with concealer


We all know that concealer works beyond just concealing the imperfections. It not only helps your lipstick to last longer but it also helps to pack it in and doesn’t let the lipstick bleed through. But you don’t have to apply the concealer before putting on the lipstick, in fact, you will have to apply it after you are done painting your lips and then apply it on the edges of your lips which won’t only prevent your lipstick from bleeding but it will also help in fixing lipstick mistakes as well.

Apply a coat of balm and lip gloss


While we know that lip stains work pretty effectively in coloring the inside of the lines but there’s one easy hack that will work even on the hottest days of the summer. The trick is very easy to follow and all you will need is a lip balm or lip gloss to get the job done. Once you’re done painting your lips, allow it to dry properly and after making sure that it has dried, you can apply a coat of balm or lip gloss on your lips. Doing so will help in keeping your lips hydrated and it will also ensure that your lipstick doesn’t bleed.

Use a blotting paper


While tissues can come super handy to blot the lipstick and are usually one of the most important steps to follow but on days when your lipstick is bleeding more often, blotting with tissue won’t be enough. In this case, you will need a blotting paper which is usually used on the face to absorb the excess oil and mattify it. You can also use it to blot your lips and it will help in absorbing excess pigmentation of your lip color.

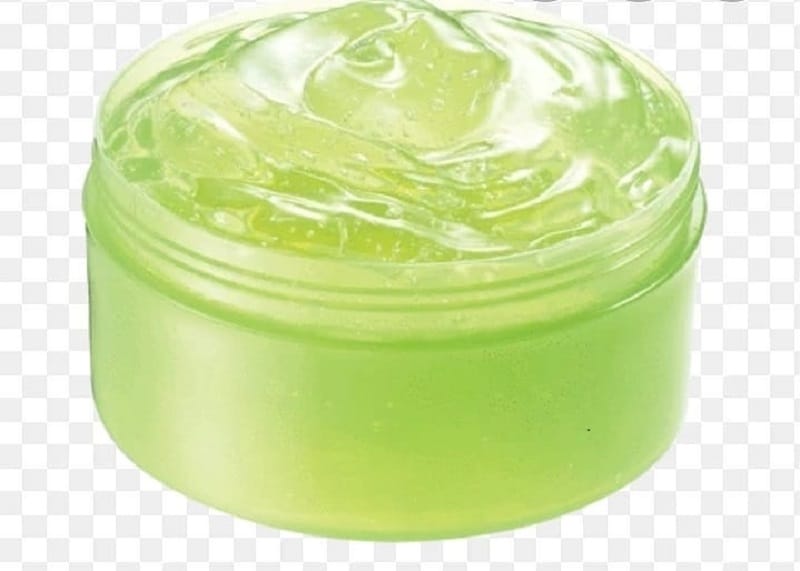
We all have been hearing this probably all our lives how Aloe vera has tons of benefits for our skin and beauty. Well, it is a natural plant and we have heard it time and again how this plant is useful to cure skin issues. Even a few dermatologists recommend applying the gel of this plant directly to our face. Some of the high-quality skincare products have natural Aloe vera in them; it has not only been proven beneficial for skin but hair as well. So we will present to you today some of the Aloe vera gel tricks which will help you in several ways.

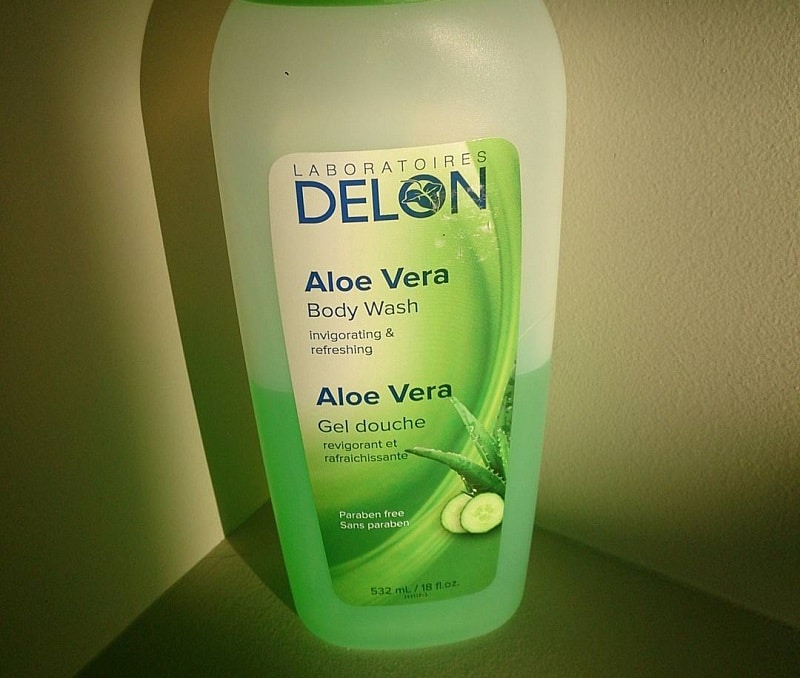
Body wash


Before we tell you how to make this body wash, we would like to share what are its benefits. Firstly while choosing a body wash we always lay our eyes on the one the product will it do for our skin right? So this body wash will give you clear and bright skin besides this will be a gentle cleanser, so if you have sensitive skin then it will be skin-friendly. The Aloe vera present in the mixture will keep your body hydrated all the time without making it dry especially keeping it moisturized. Now to prepare this wash firstly take a bowl and half a cup of castile soap. Now, add less than a quarter half of Aloe vera gel, further add a tablespoon of Grapeseed oil. Give a final touch with any of your favorite fragrances such as lavender oil, peppermint, etc. It has to be kept in cool and dry conditions to last for around 3 months.

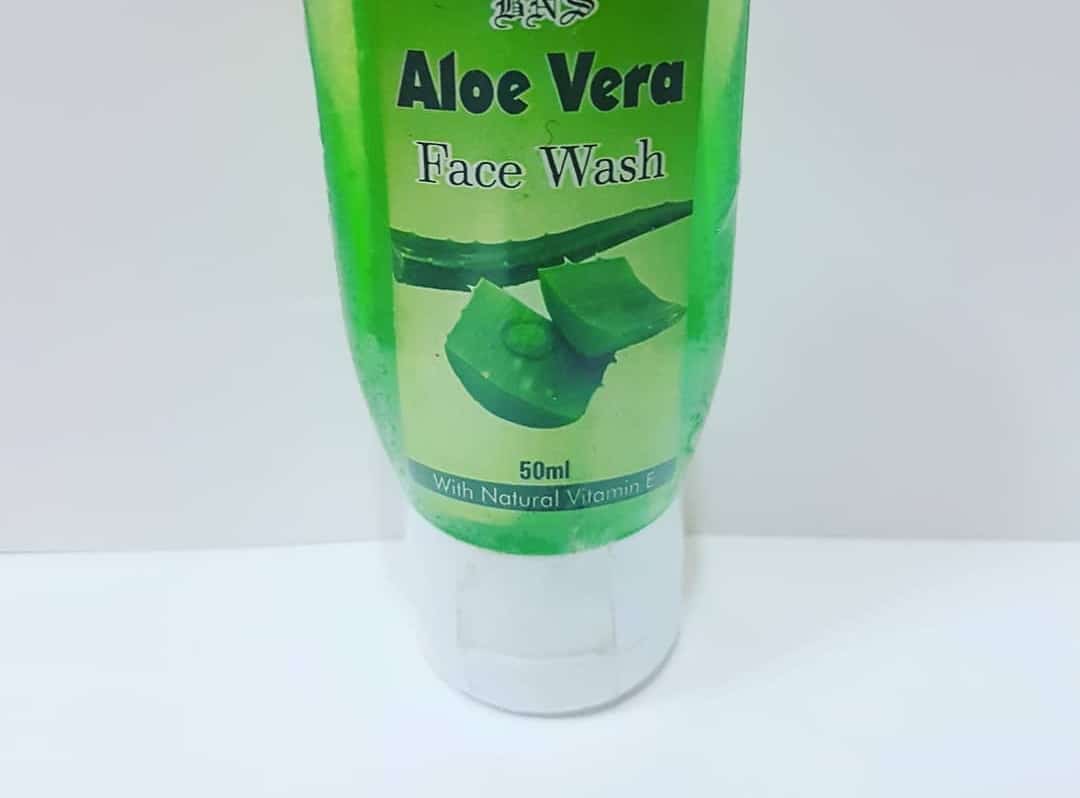
Face wash


We all want a face wash that doesn’t make our skin feel dry and we don’t get the oily skin with the time. This face wash will help you remove all the dirt from the face, as it is gentle and there are certain elements that will help your skin to be blemishes free. The essential oils can be added for toning purposes. In order to make this face wash take a bowl of Castile oil, a quarter less than half of Aloe vera juice, and lastly 2 table-spoon of jojoba oil. If you like you can add a few drops of tea tree oil, or any other essential oil to add a little bit of fragrance. It has to be kept in cool and dry conditions to last for around 3 months.

Face or Hair Gel


Take a leaf of natural Aloe vera and separate the inside gel from the outer coverage. In order to peel the skin it suggested that you remove the root end first and peel of the sides as they are pointed. Now, remover the upper layer which is a little round first with a help of a knife, you can use your fingers as well. Now, once the upper green leave is separated, cut small chunks of Aloe vera and remove the bottom part. Add all of it to the blender with some filtered water to make it a little liquidy. Now to separate the pulp from the blend using a thin stocking. Add the blended liquid to it strain it once and then strain it again after add half a cup of water. You will have Aloe vera gel easy to apply on your hair or face. Keep it in the refrigerator it will last for 2 months.

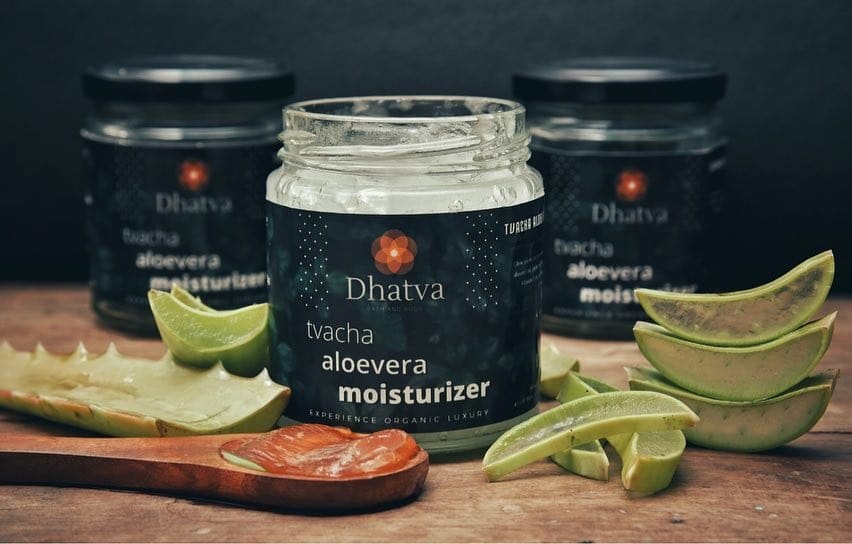
Aloe vera Moisturizer


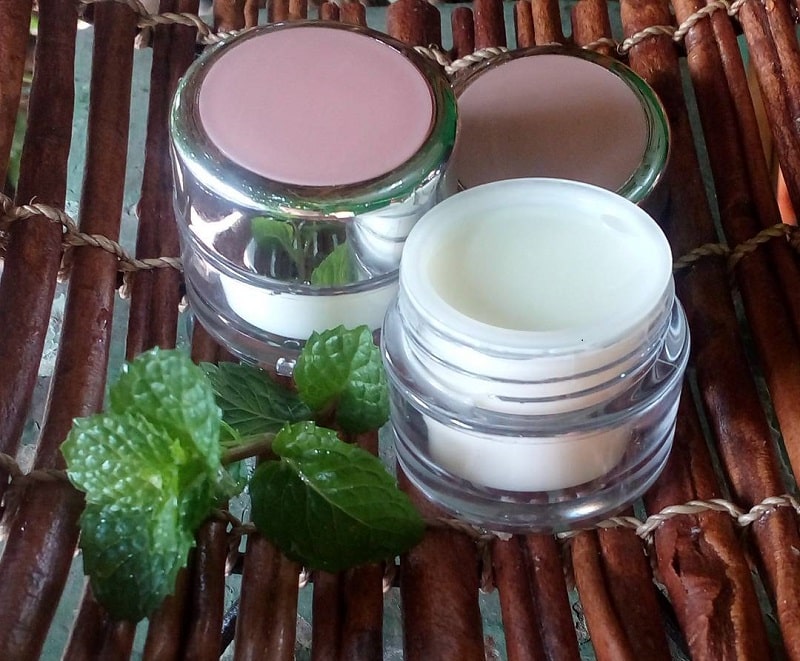
Use a glass bowl pour a cup of Aloe vera gel to it. Add a spoon of jojoba oil. Mix the two together until you see a white creamy texture. Now, add 5 drops of essential oil like rose, lavender, or tea tree. Mix it well and store it in a container. If you will use the above mentioned Aloe vera gel then you will have to make a fresh batch each day. You need the actual market gel for it.
Note: Whenever you are using Aloe vera it is always suggested to use glass, wooden, or plastic. Using a steel or aluminum spoon is not the right choice.

Learning new tips and tricks is the finest part of our everyday gig. But not every revelation needs to be factual and valid. The beauty sphere constantly pervades with various myths that build up many false beliefs and misconceptions.
Indulging in beauty practices and makeup is something we do to enhance the look and create a perfect and flawless appearance. But some myths that we assume to be facts make our beauty game weak and make us look worse. We frame our habitual actions and practices based on these myths and here is when we are actually damaging rather than causing any boon.

The feed will make you question everything you were doing up till now assuming to be apt. We will swap most of the misguiding advice you have heard with the real truths you should know and believe! So, let’s busts some of the false anticipations.

Everyday Makeup is worse for your skin

You must have been given this advice the day you have stepped into the makeup game. But beauties it’s nothing more than a myth spanked on you from ages. A reality check is that it’s not everyday makeup that ruins your skin in fact not removing it properly is the act that harms your skin. If you aim of going to bed after removing all your makeup you just need to take this advice out from your mind.

the skin problems you are going through are not is a result of a bunch of cosmetics you use rather the reason could be something deep layered that we never try to dig. So, loves don’t need to shed the craving of applying your favorite cosmetics daily just make sure you remove it properly and you are good to go.

Moisturizing Creams will not help you with Wrinkles

You always have heard that moisturizing cream only provides hydration to your skin and does nothing more than that. That’s what their name says. But it’s nothing but a myth that you assumed to be true. In reality today moisturizing creams can easily prevent the appearance of wrinkles. You don’t need to buy a separate cream for that and layer up your face unnecessarily. Rather look for moisturizing creams that are infused with UV filters and Antioxidant Vitamins which we assume every moisturizing cream is composed of with these days.

Creams Should Be Applied in Upward Action

You must have gone through hundreds of blogs and influencers telling you the ideal way of massaging products especially creams in the right direction. But to be specific and real there is no such ideal way of applying a cream to your face. No specific ideal motions of hands can give you different results actually in any way you apply the cream it will sink into your skin. So, you need to stop believing in any of these set rules as actually, these don’t make any sense and difference to your skin.

One and All Needs An Eye Cream

You must have been advised to indulge your skincare routine with an eye cream as soon as you step into your 20s. But there is no strong validation to make everyone spend on buying the eye creams. Any product that is rich in antioxidants and vitamins can do wonder to your eye area. And if you are suffering from extreme dry eyelids or constant eye bags, or dark circles then only you should consider buying yourself an eye cream. Otherwise using any cream around the eyes will solve the purpose of hydrating your eyes.

If you’re dealing with acne you must have read thousands of blogs but here we will provide you the root causes related to acne. Stay tuned!

Acne can be an awful thing with tiny or huge regular and occasional breakouts. You must be tempted to know what causes acne. Acne can pop up due to various reasons and you have to identify what is the reason you’ve been suffering through this. The reasons differ from individual to individual. If your friend is suffering from acne may have some other cause behind it than yours. It’s very important for you to know the reasons so that you can tackle the situation in an effective manner.

Acne can erupt on any part of your body with face, back, neck, chest, and shoulder the major parts of show-up. The acne that appears on your face can hammer your self-esteem than on other body parts. But, it’s nothing you cannot get rid of. You must be surprised to know that it’s the most common problem every third person is dealing with. Unless you don’t know the reason to counter, anything you use will be a waste of treatment.

So, here are we busting the underlying reasons allied to these knotty breakouts. If you are the one whose tiny bumps root up specifically on one area for say chin or forehead. There’s a sign that something is going wrong within your body. So, let’s map your face and give you effective treatment by making you aware of the actual reason behind acne.

Acne Banging On The Forehead-


If your acne only shows-up at the forehead or if the major explodes are on your forehead than maybe you’re suffering from a flaky scalp. Our skin has small holes in abundance called pores so when you are dealing with dandruff and since forehead is close to your hairline the area is more likely to get blocked. The falling flakes of dandruff can block the pores and that’s why you have to suffer from acne mostly on the forehead. So, before you treat acne you need to combat the flaky scalp.

We would recommend you to use Dandruff Shampoos that calm your scalp and thus controlling the acne in effect. Wash your hair with a dandruff shampoo twice a week or depending on your scalp state. Once the situation is under control you can swap for once a week but don’t go off using dandruff shampoos completely as dandruff is something that can come back.

Acne Knocking On the Chin-


If the acne breakouts constantly show up on the chin then your body is going with some kind of hormonal imbalance. Hormonal imbalances are a result of bad food habits, odd lifestyle changes, and in adult’s puberty fluctuations that our body undergoes and especially in women menstruation and menopause.

If you’re suffering from hormonal acne than any treatment or oral contraceptives you use will do nothing to combat the issue. The treatment lies in changing your food habits and switching your diet towards healthy additions and you have to undergo your odd lifestyle practices. Indulge in daily exercising that will increase the blood circulation and eat fruits, vegetables that will make your immune response better. Only then you can control the problem successfully.

Acne Flaring On the Cheeks-


Acne that flares on chin maybe a result of the weak digestive system that is affecting your skin. Indigestion potentially leads to breakouts. But, it’s nothing you cannot get a grip on. The first step is changing what you eat. The diet that is high in sugar, Trans, and oil is making your digestion weak. The processed food feeds your body badly so make changes in your diet that will promote stronger digestion and will aid in clearing your skin up.

Remember your skin is not what you are layering it up from outer but what you are feeding your body from inside.

Acne around the Lips-


If your lips are religiously surrounded with awful breakouts the underlying cause is a respiratory problem. Your lungs are weakened with factors like poor-quality air, pollution, and heat. All you have to do is maintaining clean air at your home and covering your mouth whenever you step out in polluted air. Make sure you follow this with medical treatment to see better results.

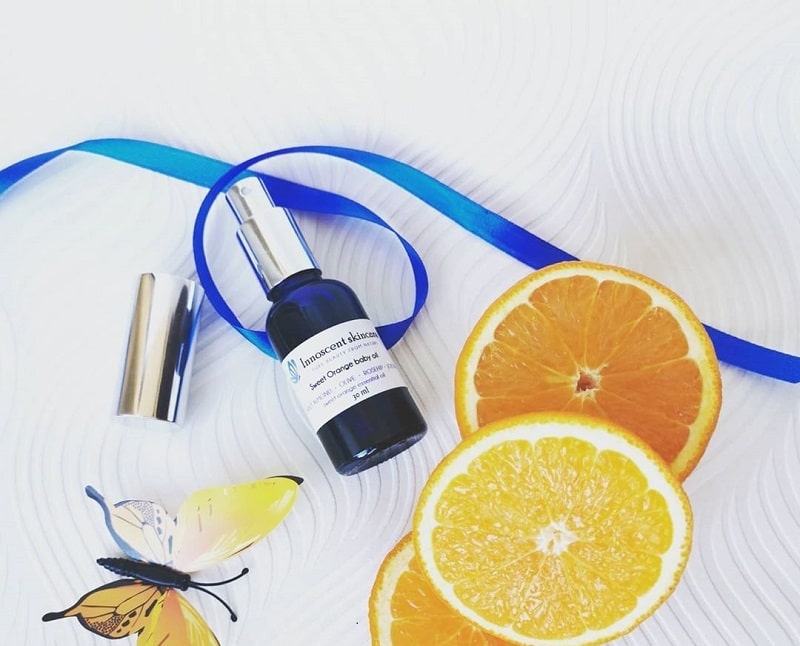
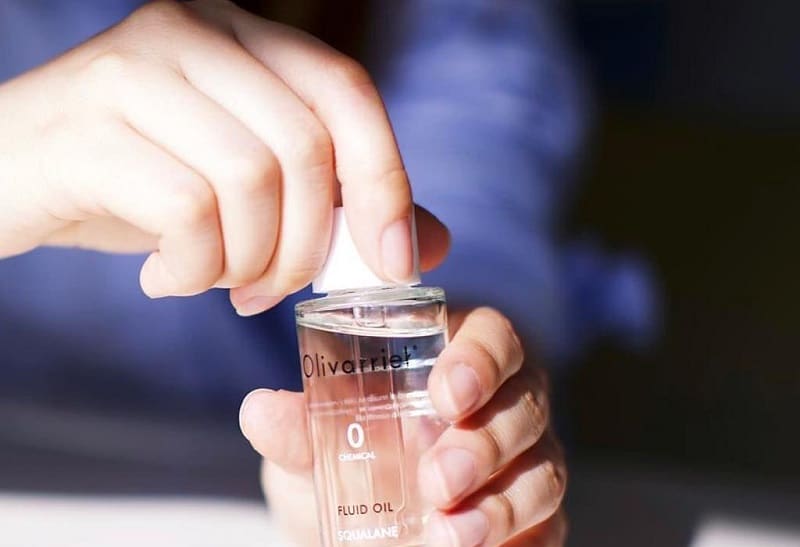
Ever heard of baby oil? Chances are you must have heard of it but not for beauty reasons for sure. As the name suggests, the product was originally designed for the babies which helped in maintaining their skin baby-soft as they have very fragile, thin, and sensitive skin. But it doesn’t take long for a genius to look into a thing beyond its purpose and that’s exactly what happened with baby oil. Now baby oil is not only used by mothers for their babies but women as well. If we see the product as normal oil then it is just a mineral oil at the core which has numerous benefits. Apart from being sold as a separate product, it is also used as an ingredient in many beauty products such as moisturizers and perfumes. There are so many popular beliefs associated with the use of baby oil, with some of them being complete nonsense while some of them absolutely true. And to help you figure out the latter part, we have put together a list of 4 different ways to use baby oil in your daily routine.

Moisturizer


Baby oil is known to be packed with great moisturizing properties which can benefit your skin in so many ways. You can also apply it on the parts of your skin with dry patches as it will help in healing them. After you are done taking the shower, you can apply the oil to your body when it is still a little moist and your pores are open as it will allow the product to penetrate deeper into the skin. It is not completely recommended to use the oil on your face as it can clog the pores which can cause nasty acne.

Makeup remover


Oil-based makeup remover is mostly used for waterproof makeup products but it can also be used to get rid of your normal makeup from your face. Take a tiny amount of oil in your hands and apply it on your face in a massaging motion. Then take a cotton pad and wipe away all the products from your face. Follow it up by washing your face using a cleanser to make sure that every inch of makeup and oil has come off your face.

Cuticle oil


Our cuticles are possibly the most ignored parts of our body and they deserve to be treated in an equally attentive way like our face. Almost every chore that we do needs the use of hands and that can easily tire them and dry the cuticles which can result in pain and burning sensation. This is when baby oil comes to your rescue and helps in keeping them moisturized. Instead of buying pricey cuticle oils, you can purchase baby oil which is affordable and helps in achieving the desired result. Using a cotton pad, apply the oil over your nails, cuticles, and massage it into the nail bed. Apart from healing your cuticles, it will also give your nails a very shiny and healthy appearance.

Foot care


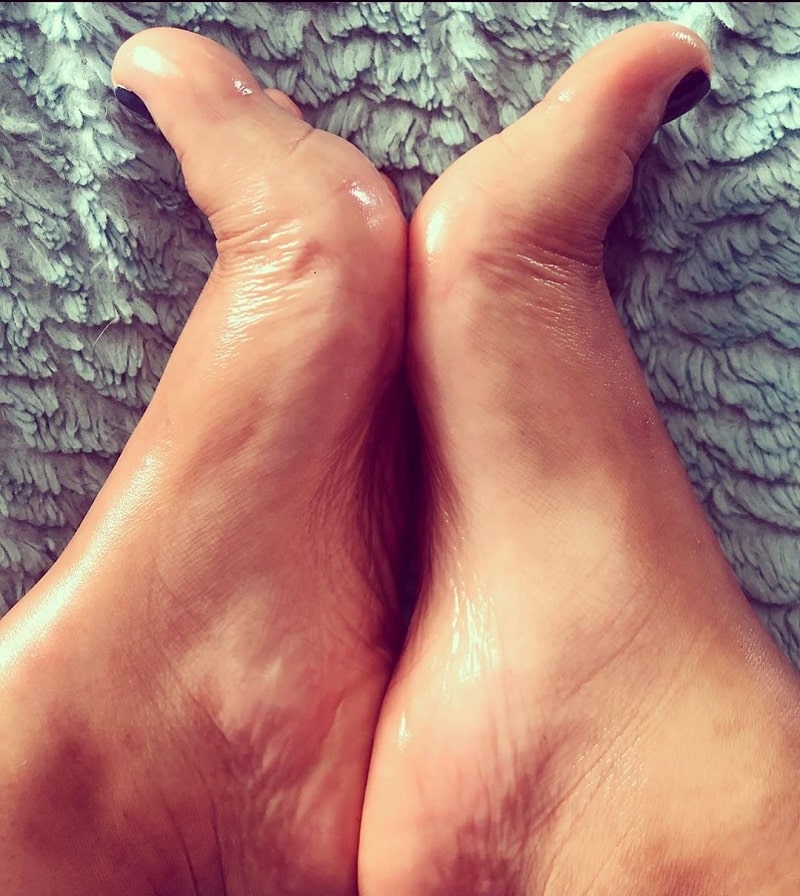
Baby oil is a rich source of vitamin E which benefits your skin in so many ways especially with dead skin cells. Cracked heels and elbows are a sign of dead skin that can be worked upon with the use of baby oil. If you have been dealing with this issue then make sure to invest in baby oil as it will help in restoring your skin back to its healthy state. The oil should be used when it’s warm, you can either use it to give yourself a home pedicure or as a foot moisturizer.

Chemical exfoliation is the most effective form of exfoliation. The exfoliation that we’ve been using so far was essentially manual scrubbing of our skin with granule particles that are known as physical exfoliation. Chemical exfoliation, on the other hand, uses chemical acids and doesn’t involve any abrasive scrubbing on the skin. You won’t even feel as if you are doing anything on the skin.

The dead skin cells usually pile up on the skin that makes our skin rough, dry, and dull. Moreover, this accumulation of dead skin blocks our skin making every product we use just sit upon the upper layer without digging inside. Chemical exfoliation is great even for acne-prone skin as abrasive granules in physical exfoliation can trigger the problem into worse. Though chemical exfoliation is supremely effective but this is something a very serious business. Unlike a sheet mask used for 10 minutes, chemical exfoliation is an extreme level thing. You need to be a little cautious while doing a chemical exfoliation. There is a complete set of precautions that you need to take with chemical exfoliation. With improper usage, you can harm your skin rather causing any benefit.
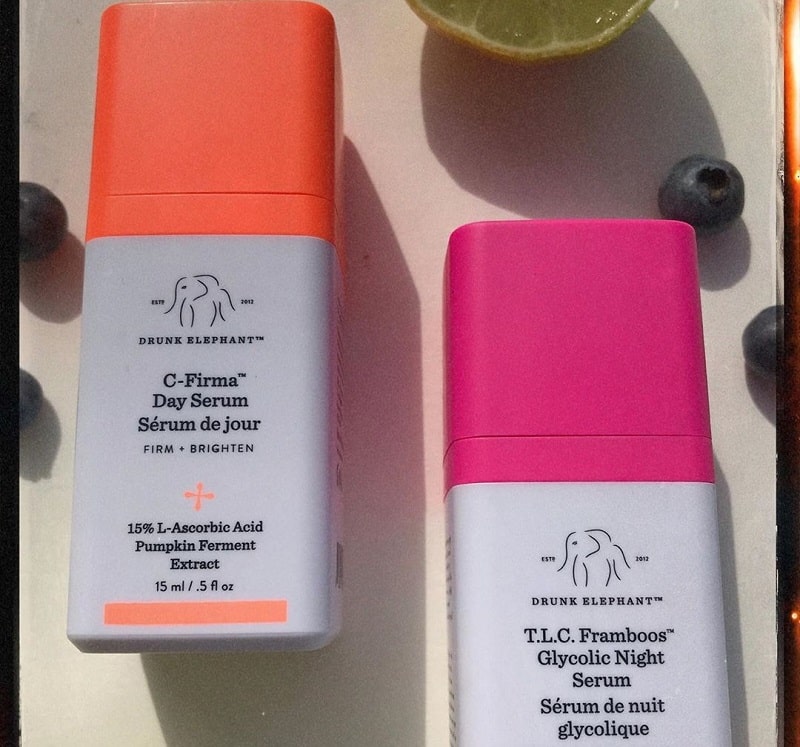
Here is a do-list of things you should keep in mind while going for chemical exfoliation.
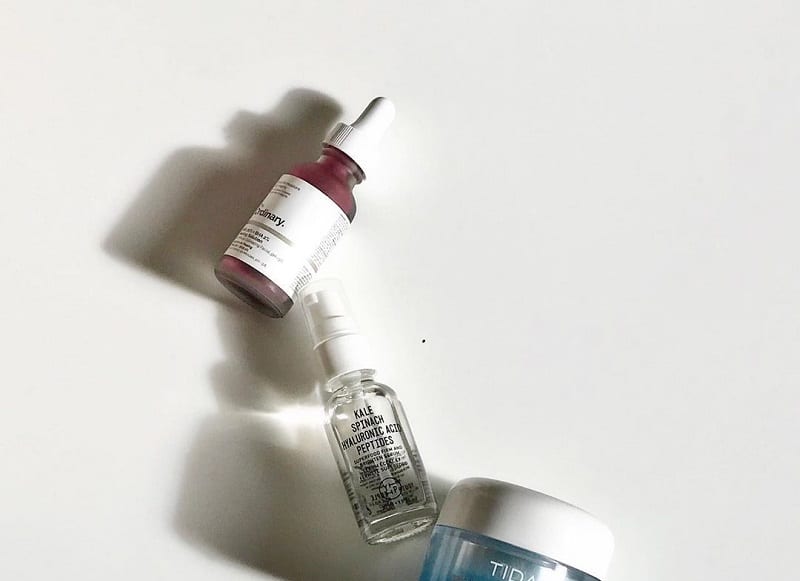
Build the Resistance-


If you’re someone new to the realm of chemical exfoliation, building and preparing your skin gradually is the way you enter the chemical exfoliation. You can’t go with any of the chemical exfoliators available. The percentage of acids you’re using is really important. For a newbie, you can’t just randomly go with 20% or 30% just to seek faster results.
We would recommend you to go with something in between 5% or 10%. And once you’re skin is used to acids you can gradually increase the percentage and go for extreme acids. Building tolerance for the skin is very important in chemical exfoliation.

Read the Brand Instructions Carefully-

Least of us pay attention to what the brand has to say about the products and for something else it might go but for chemical exfoliation skipping the brand guidelines is a big no. Chemical exfoliation is the use of serious acids on your skin and what the brand is guiding you should be followed thoroughly. If the brand says to keep it for not more than 10 minutes you should just stick to that.

Patch Test First-

Now everything that brand claims to be good doesn’t mean that it is good. Even if the product mentions ideal for sensitive skin doesn’t mean it would be. So, before going for extreme things in your skincare like chemical exfoliation a patch test is a must. We would recommend you to patch test a layer of the product somewhere on your neck or below the jawline and do the same once in a week for two weeks. If your skin adapts to the acid very well you can go with the product further. If any sort of irritation persists you’ll get to know that it’s not something for your skin.

SPF is a must-

Now this one is the most crucial precaution to follow. If the patch test goes well and you go with the first chemical exfoliation you are making your skin sensitive to the sun. Applying an SPF whenever you step out of your house is a must done job for your chemically exfoliated skin.

That brings us to something really important the time you will do the chemical exfoliation. We would suggest you go with it ideally at PM and not more than once a week.

Don’t overdo-

Chemical exfoliation is not restricted to scrubs like the physical exfoliation any of your products may it be face wash, toner, or moisturizer that has ingredients like Salicylic acid, Glycolic Acid, and Lactic Acid is a form of chemical exfoliation that will exfoliate your skin. Using any of these ingredients in your daily skincare regime is something overdoing with chemical exfoliation. So, we would recommend you to not to overload your skin with these chemical exfoliating ingredients as that will dry out your skin making it worse. Be gentle with your skin and use these acids in less.